
The Fall One Room Challenge (ORC) went by incredibly fast. I thought I would finish my mini project and have to wait to share the reveal. Ha! Joke’s on me. The fall challenge ended and I didn’t make the deadline. I am now 0 for 4 *weeps* . I am close to finishing, but life is colorful so who knows what will pop in to become my new priority. I’m not going to beat up myself about it though.
Here is where I am:
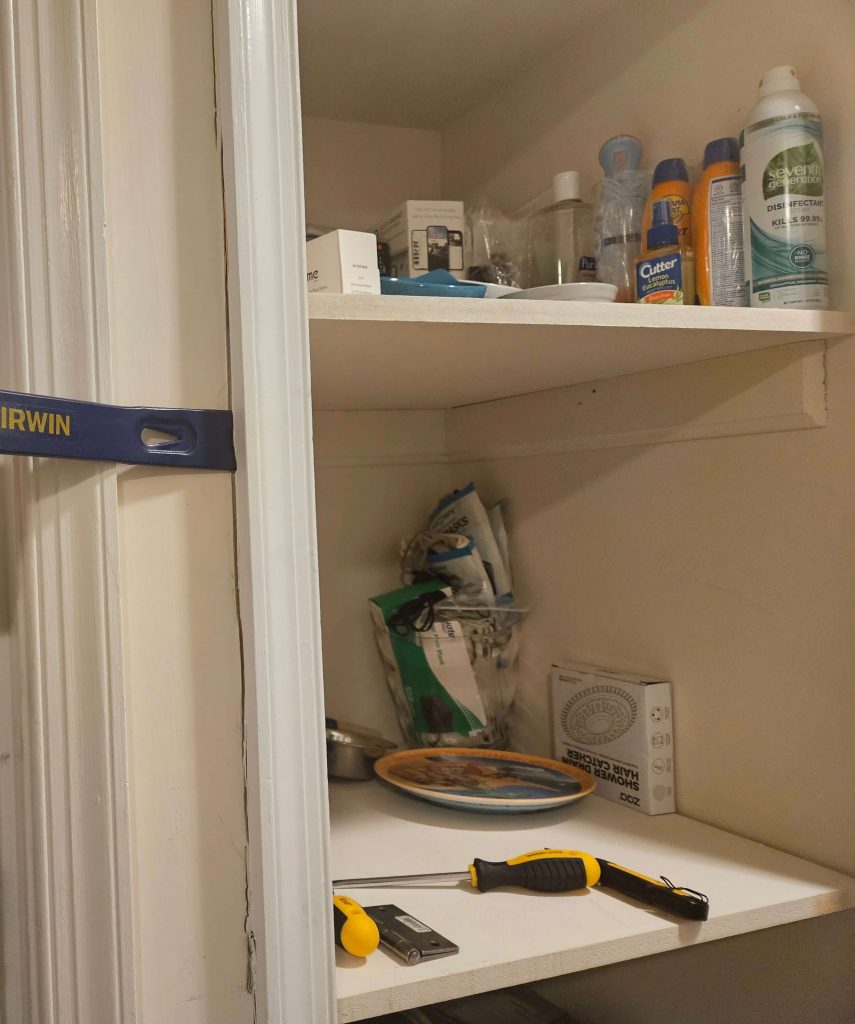
The closet has been decluttered. It doesn’t have the perfect aesthetic, so there are no beautifully matching baskets and storage containers, because…the economy! My goal was to make this transformation as inexpensive as possible. I love being able to see what’s in the closet. I’m sure it can be improved upon but perfection will have to wait.
For the doors. The door was broken and was actually stuck.

So to take the doors off I had to loosen the screws connecting the track to the door frame. This step freed the door up enough for me to take them off. I then continued to remove the screws fastening the track to the door opening.
I laid the doors down on the saw horse to remove the remaining items from the bifold track system. I also filled any damage, knicks and holes with wood filler. I filled the original door knob hole, but I later regretted that because I could have used it for one of the holes for the new door handle. Don’t get too ahead of yourself to renew everything like I did. Try to assess if previous holes could be reused first or consider using the same handle. You could give it a new look by spray painting it.
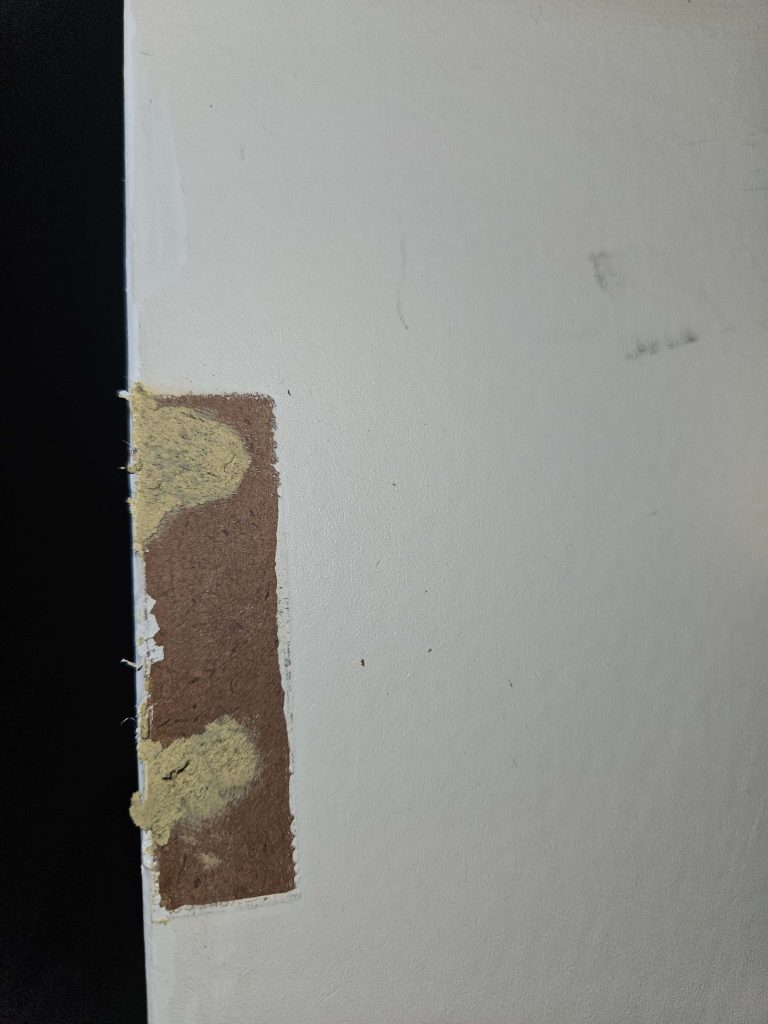
After the wood filler dried, I sanded the entire door lightly with the power sander. This step is important to help the paint adhere to the door. I used 120 grit for this step. I then dusted it off with a tacky cloth and primed the door.
After the primer dried, I lightly sanded it with 220 grit. I painted it with a Behr color match to Sea Salt by Sherwin Williams. The poor light in the garage made the paint look like it had no color to it. Color me nervous and reserved. I determined that a second coat was necessary if it was showing up white.
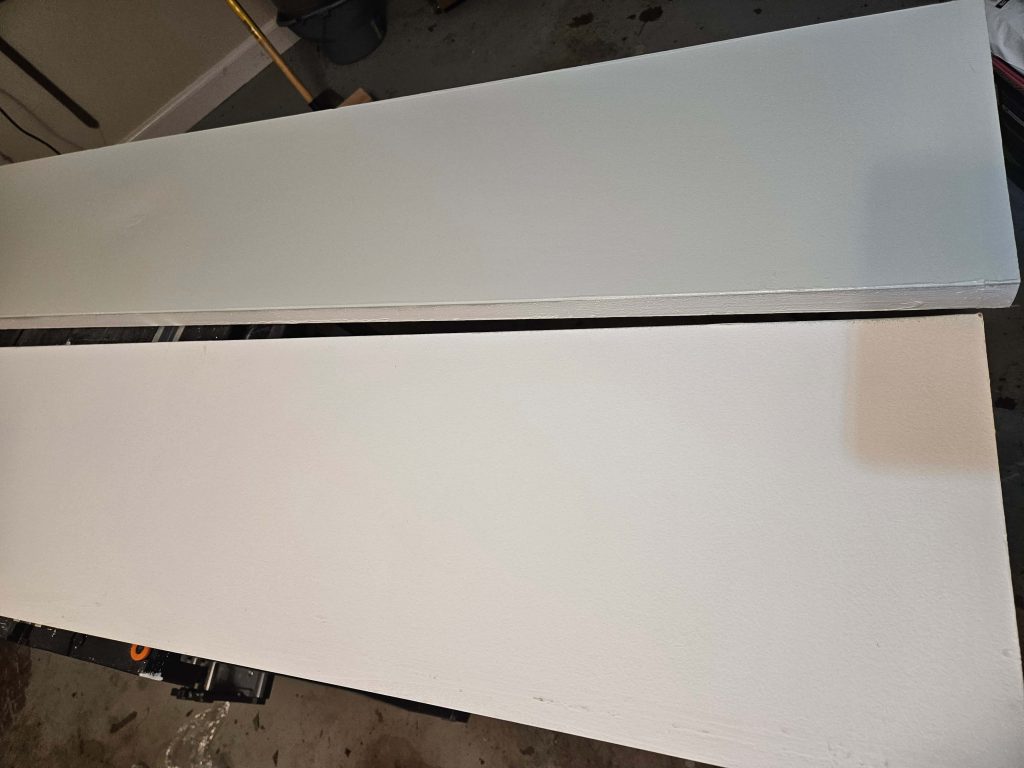
It’s hard to tell, but the painted door is at the top. After sanding it again with 220 grit, I applied a second coat.
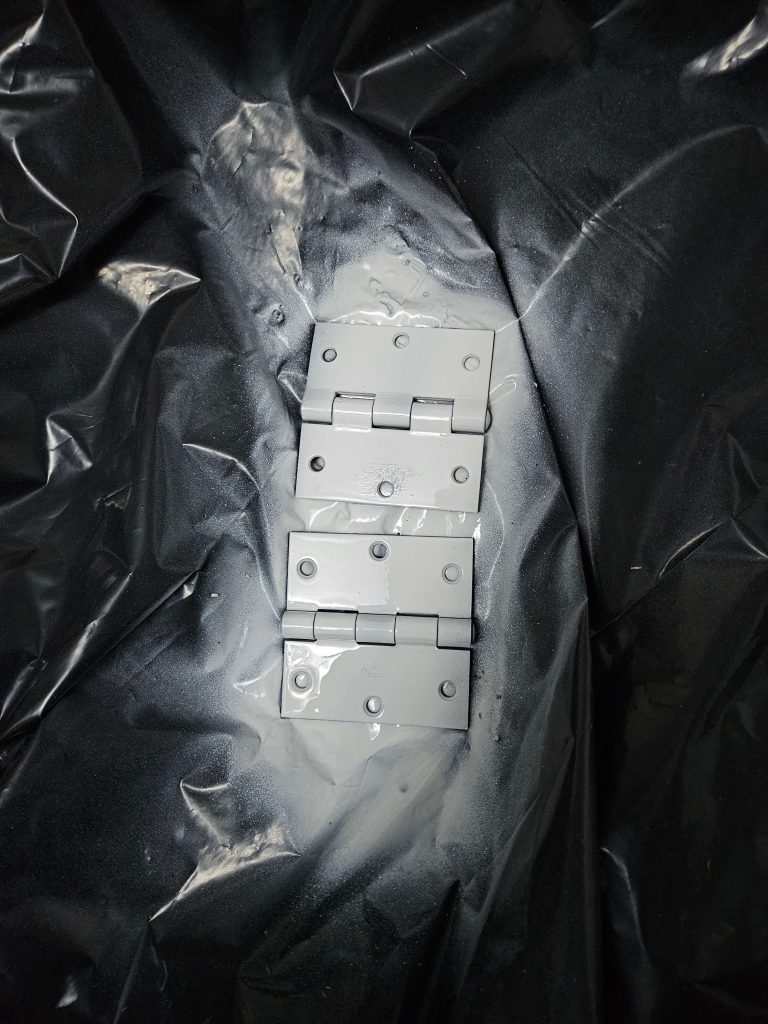
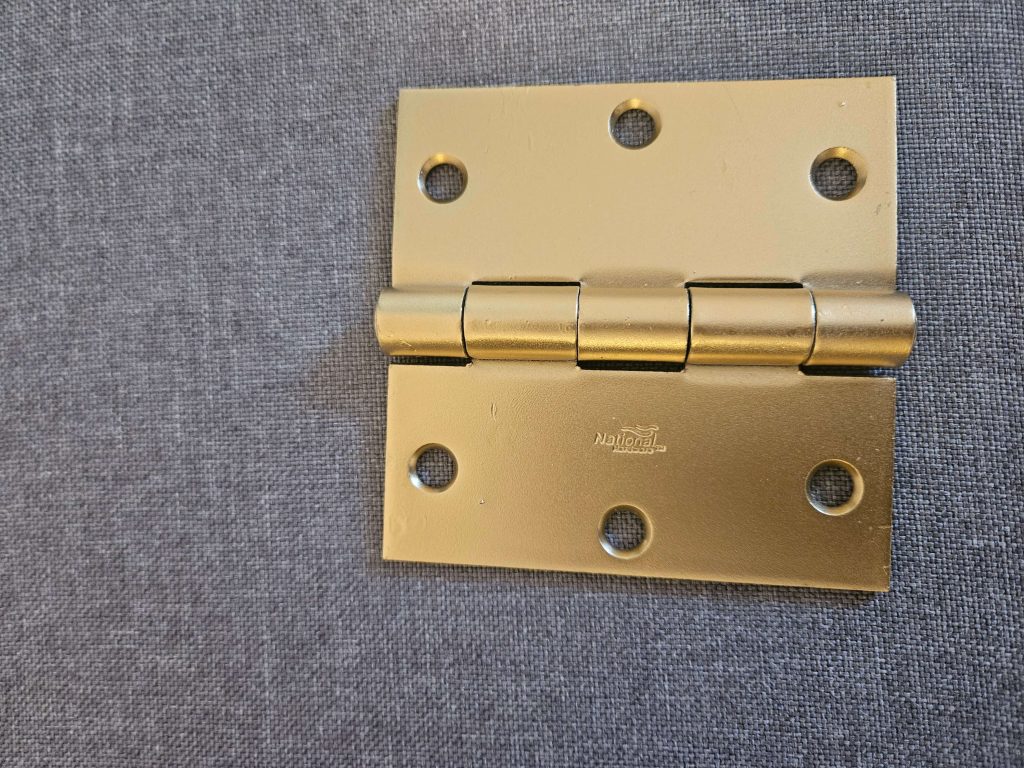
While the doors were drying, I decided to spray paint the silver door hinges to match the door handle. This was an on the whim decision that I made in the hardware store. I bought the Rustoleum primer spray paint and their gold finish.
Door hinges. I did 2 layers. The directions said the second layer should be applied after 2 minutes of the first one. Make sure you keep the can at the right distance because it can affect how thick the layers are (ask me how I know). I loved the outcome and will be using it again. However, I needed to give it more time to dry. I was rushing to get the doors on so I could show it off to my in-laws. It was cold that day, which usually means it will need some more time than what’s estimated on the can as normal dry time.
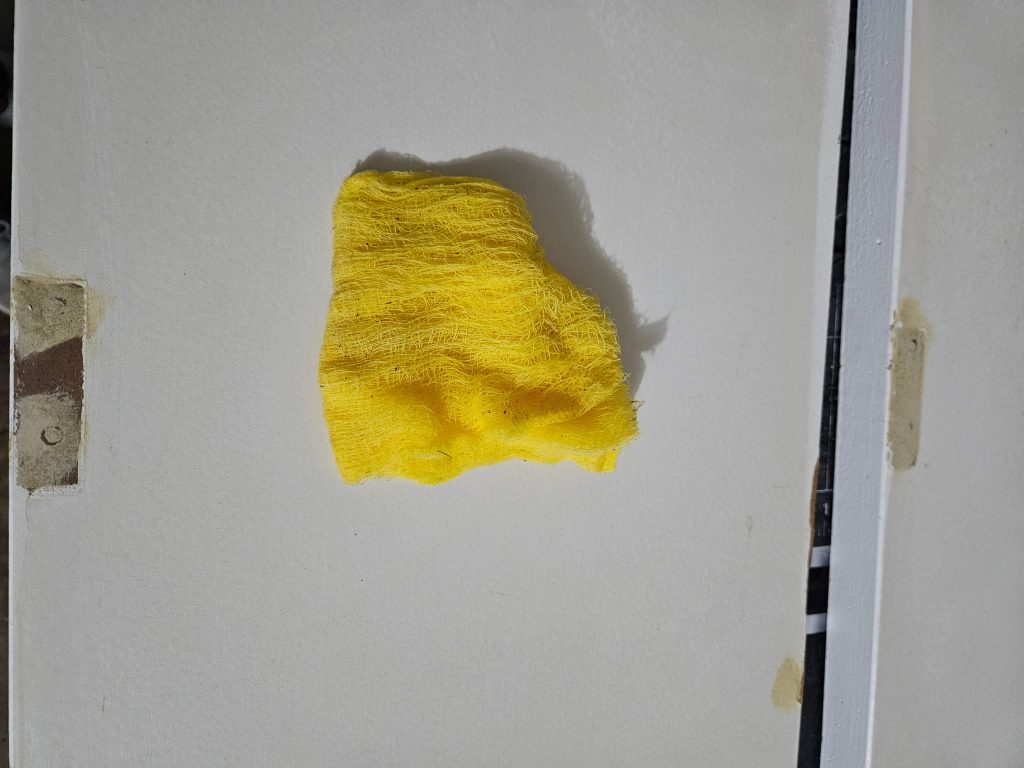
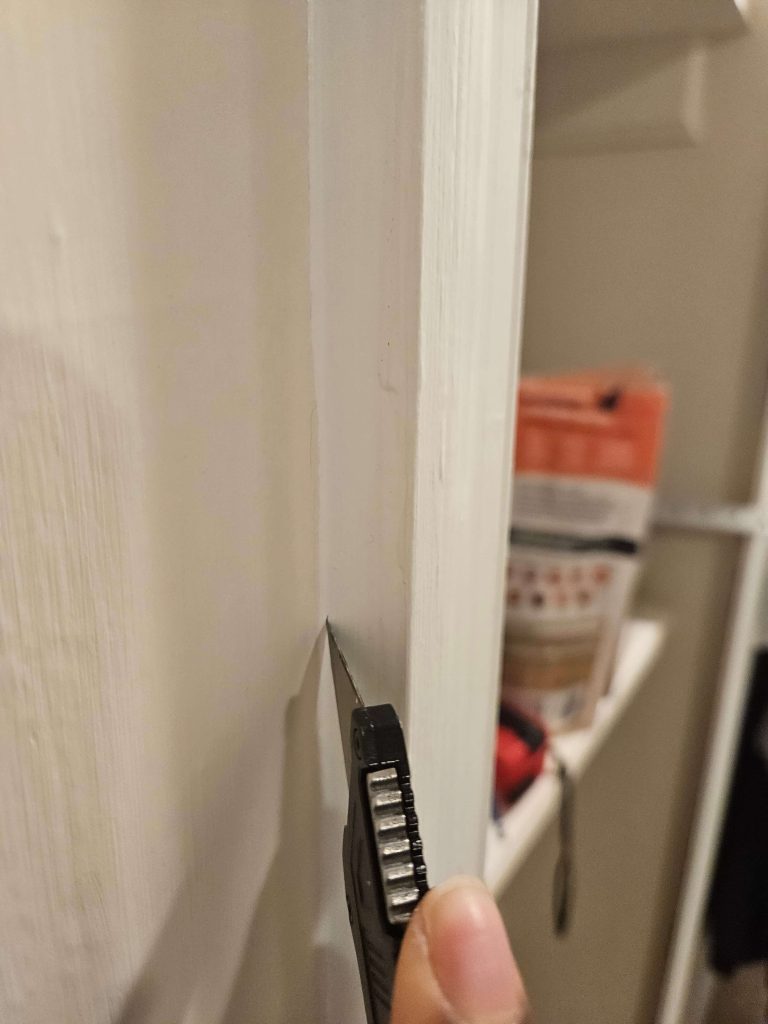
The door trim. The way the trim around our closets is installed is strange to me. There is an intentional overhang and the trim isn’t flush to the doorway. In order for the repurposed doors to open up properly, I had to remove the trim. First I used a utility knife to remove the caulk. Then I use a crowbar and hammer to pry it away the wall.
I then reattached them with a brad nailer, so that it would be flush to the doorway. I did this step after I attached the doors to the wall. If we didn’t remove the trim, it would impede the door from swinging open. It does mean that we now have a gap in the trim that we will need to fill.
To hang the doors. I attached the hinges to the door first. For this I was reminded that I am a CHRONIC overthinker. So what should have been a simple step I morphed into an algebra, calculus, statistics exercise. Please skip that overthinking step and lemme do the math for you.
Fold the hinge so that the 2 sides are touching. The round part should be on the outside of the door jamb. Like so:
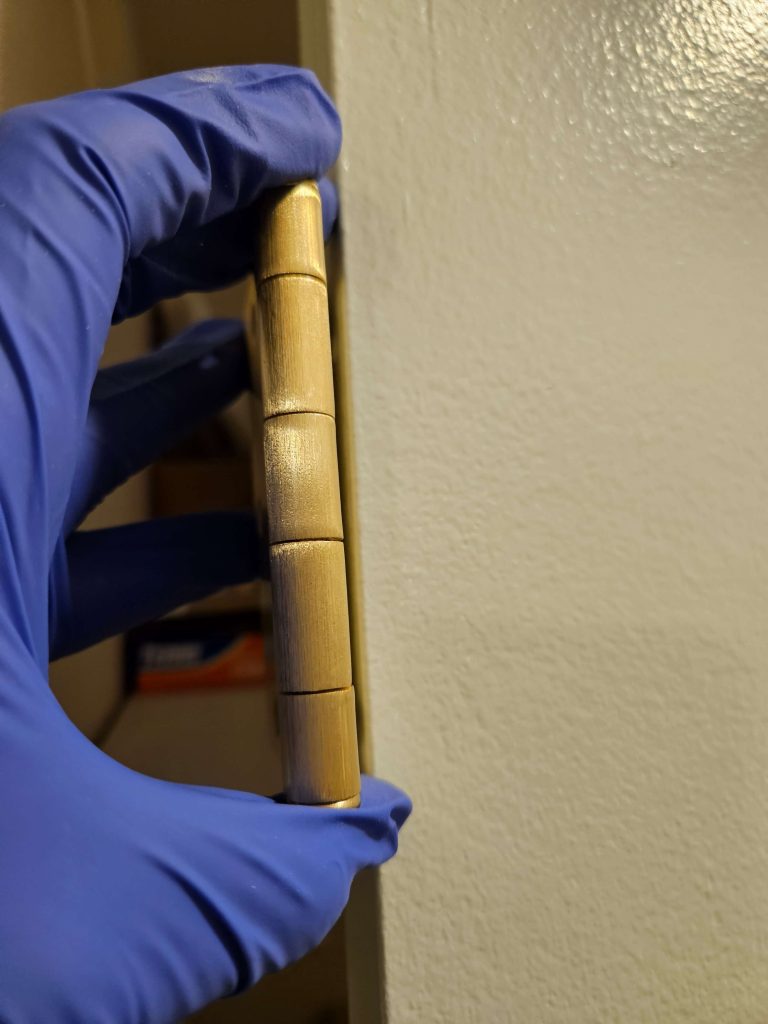
The hinge side that is closest to the door should be attached to the door. Then screw the other flap to the wall. Don’t overthink it.
I used a random item (I’ve seen people use books) to get the door to the height that I wanted it to and to steady it. Then I attached it to the wall with screws.
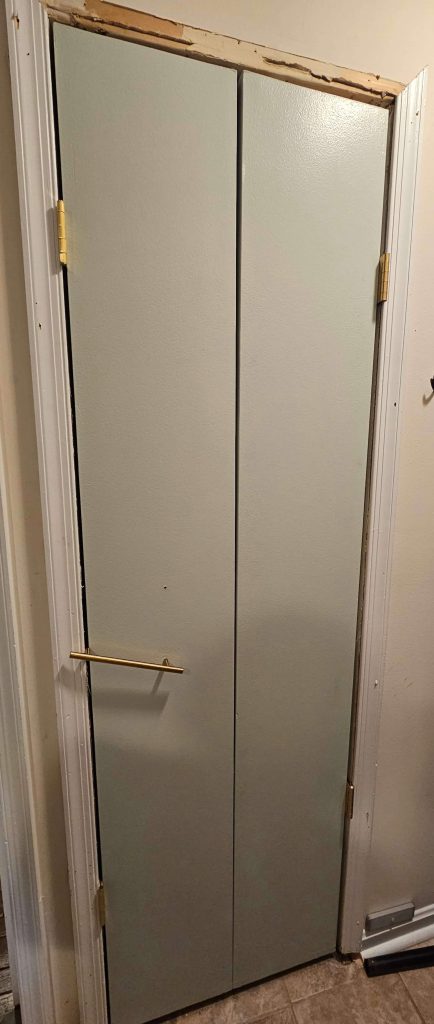
This is pretty much wha it looks like right now. You may have noticed that the hinges are not on the same level. When I tried adding the second hinge, it couldn’t drive through the screw through. So I moved it up. On my finish list are:
- Move up the hinge on the left side
- Get trim to fill in the missing pieces, add wood filler and paint
- Attach the door handles
- Add the magnetic latch
- Give you an update and some closure!
Stay tuned for an update. To sweeten the pot and get you to come back, I will redo the closet on the opposite wall and give a 2 for 1 reveal.